Lightening does strike twice
 |
New
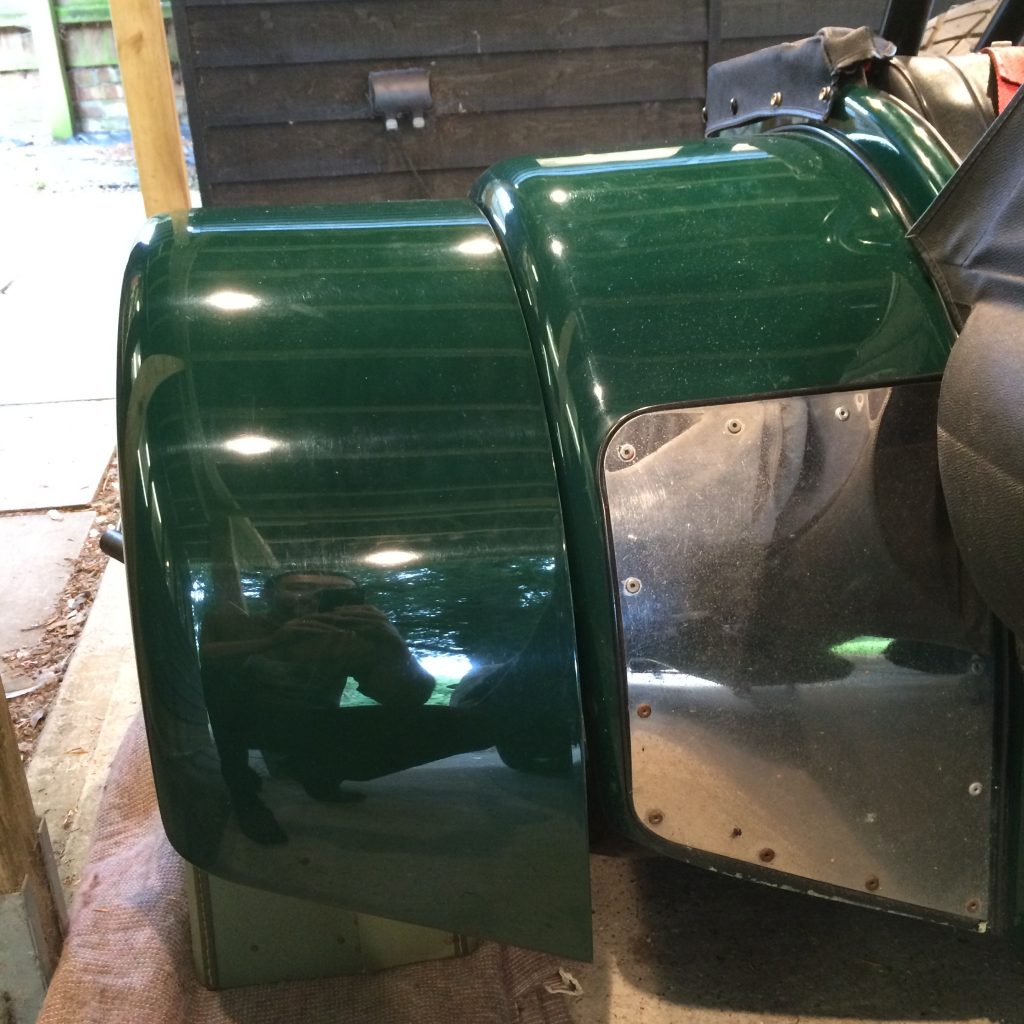
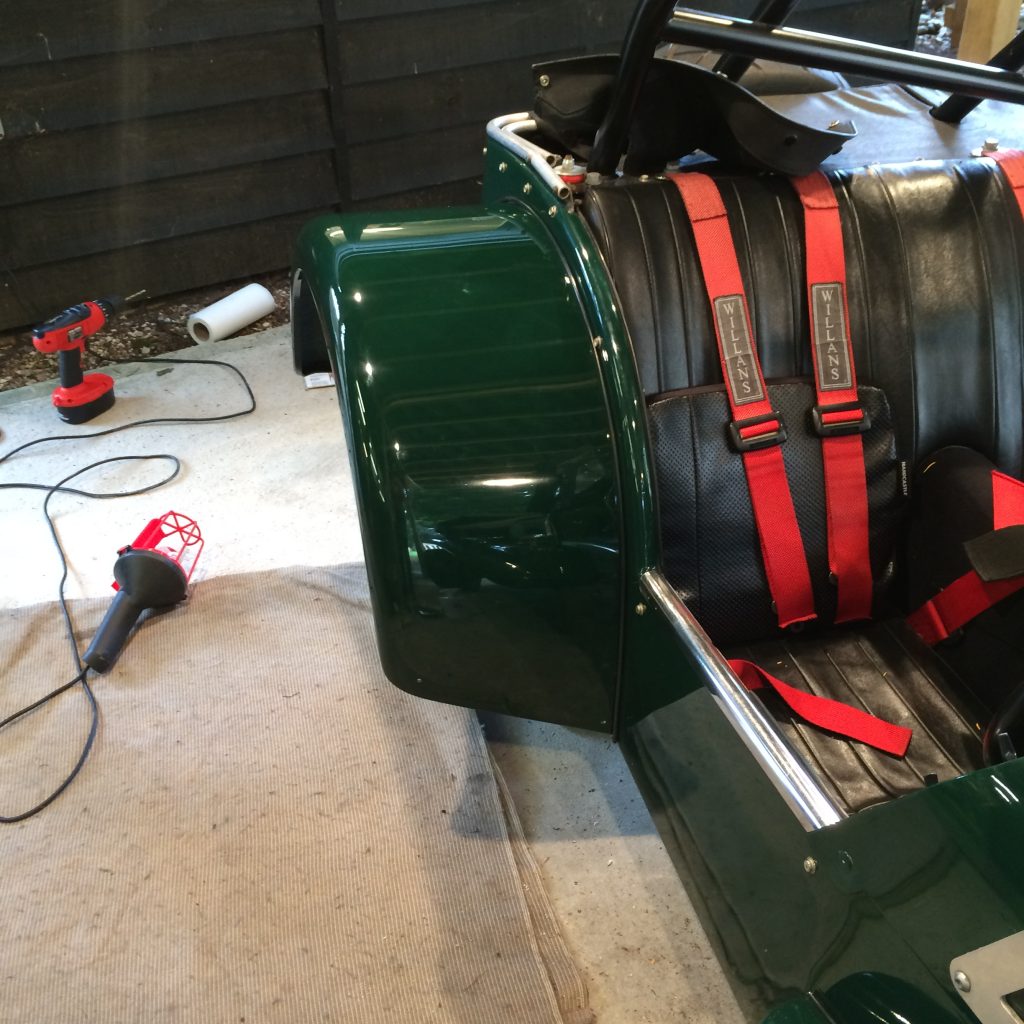
wing being colour checked |
I was having to fix the car because while it was with
Keith at the Seven Workshop undergoing its MOT, Service and a fix to the ‘A’
frame bolts, the car received a knock – inflicted on it by a driver that did
not have the decency to admit his mistake and just drove off. The wing ended up
with split gelcoat and cracks.
Having had the same problem with the Ginetta G4 about 10
years before (and never being happy with the repair) I discussed it with Keith
and decided that the best option was to replace the whole wing rather than look
to get it re-sprayed.
He arranged for a new wing to be sent to me (once
Caterham Cars had one in stock) for me to check the colour match. The
mid-1980’s is 30 years ago and that’s 30 years of sunlight and of fading and I
was worried that the colour would be off.
However, I was very happy when it arrived as the colour
was very close.
 |
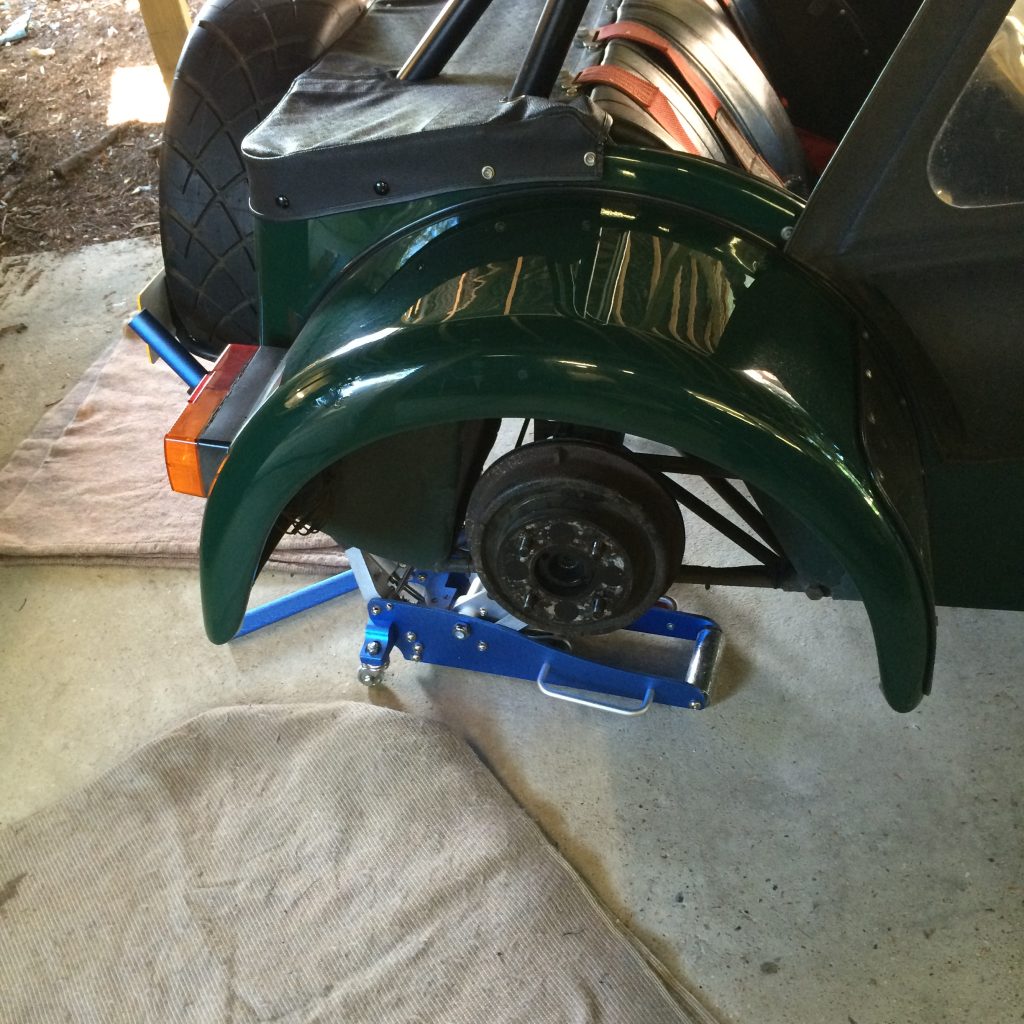
Wheel
removed |
Start and preparation
My instructions were from the Haynes manual 1-0-1. Remove
bolts to take off the wing, replacing the wing is the reversal.
I started by jacking up the car with the trolley jack under
the suspension mount (with a rubber block on jack) and added two axel stands
under the back axel to support it just in case.
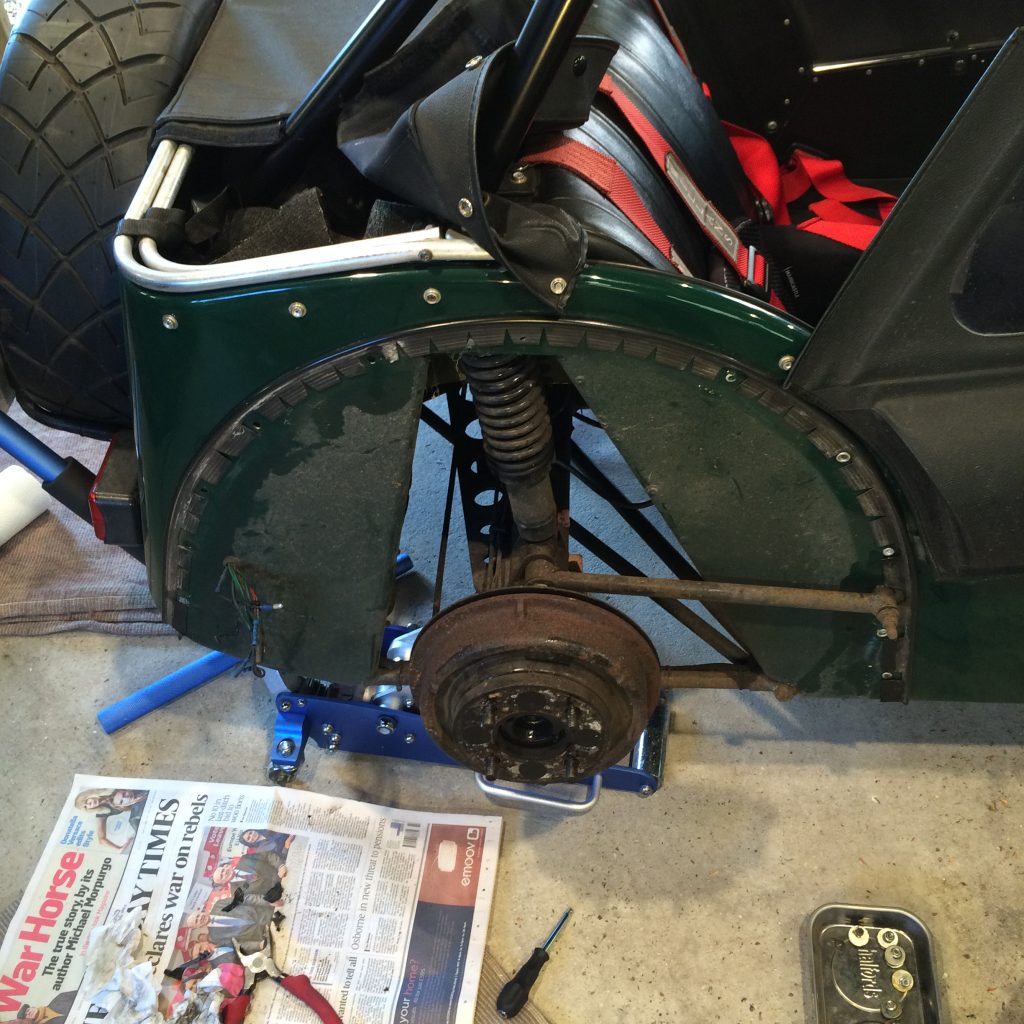
Next I took the wheel off and noted there were 10 bolts –
five each side to remove – and they didn’t look in bad condition although one
was a bit rusty – I checked again 12345 up and 54321 down – yes 10 bolts and a
couple of bits of electric cable to undo.
 |
It
was a mess but they ‘worked’ |
I gave everything a dose of WD-40 and let them soak for a
bit while I got the rest of the tools out.
I’ve got lost in wiring before, so I both photographed
and noted down the colours of the electrics in two batches (lights and
indicator first and then the reversing light).
The first batch of wires was: Red goes into Red; Black
goes into Black – which separates into two wires; one Green wire goes into the
Blue clip and that exists on the Green and Yellow wire; and finally the other Green
wire goes into a bit of a mishmash and exits as a Green.
For the smaller set for the reversing lights two earth
wires just terminate on the Earth screwed on the fitting bolt and the Yellow
wire goes into the Blue connector that exits into two Green wires.
I disconnected them
all with confidence.
The bolts, as suspected, were not the same size as you
went round the wing and to get to the top 2 left hand side bolts I had to strip
out the carpet from the inside the boot.
 |
The
wing came off quite easily |
The wing came off quite easily after I took the bolts off
until it was held on the top two.
Most of the fittings seem to be intact (if a bit loose) although
one bolt seat was a bit loose and the boot side had grown a large hole but it had
big washers either side if it to grip it.
I made a note to clean the area underneath the wing too.
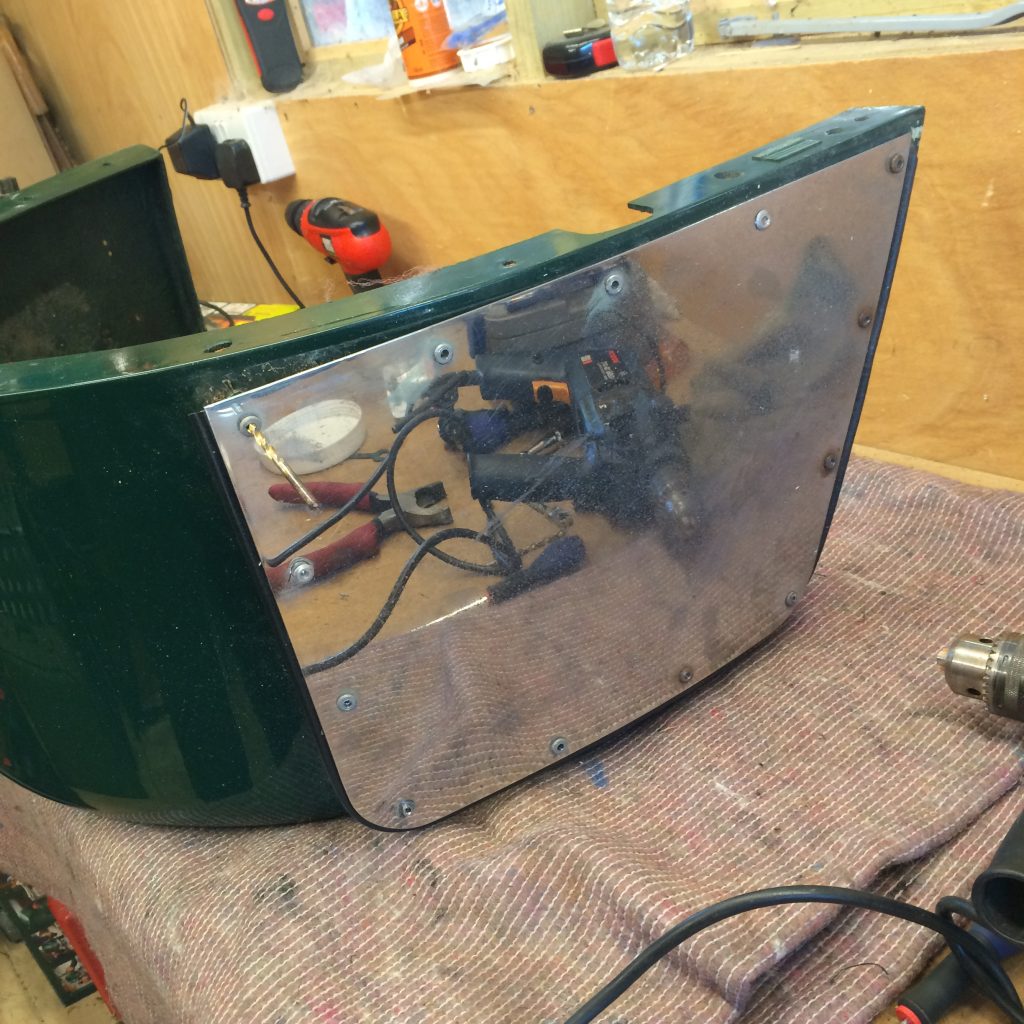
Once off the car I put the wing on the bench and took off
the rear lights and reversing light, which was removed from wing quite easily
as the screws were not seized.
The next step was removing the 13 rivets holding the
stone guard in place. I had to re-drill holes in the new wing for them too – I
suspected that was going to be the most difficult thing – anyway 13 is lucky
for some.
The job started to get harder immediately as the rivets
 |
Drill
bit stuck |
didn’t really want to
come out. I had to grind off the back, then drill out the front, then drill
again from the back on some.
The drill bit became stuck at one point too.
Once free of the wing most of the rivets were still in
the stone guard so I then had to use pliers to cut the head off and squeeze
them out of the holes.
Eventually they were all out and the stone guard was clear.
I noticed it immediately straightened out a bit where I had been expecting it
to remain curved.
I had made a conscious decision to keep the old stone guard
to make sure that the replacement wing on the car didn’t look new – and it saved
a bit of work as I would have had to have changed both of them anyway to make
them match.
It took about two and a half hours to get down to the
component parts and then half an hour to take the rivets out of the stone guard.
I stopped at that point and tidied the tools up ahead of part two.
Part 2 – Re-assembly
The next day I started to measure up the new wing against
the car and immediately noticed that there was a large bolt in the way, which
is the location bar for suspension. The old wing had a cut-out to go around it.
I also noticed that the holes for the bolts in the new wing are not all in the
same place as the holes in the old wing – which was going to be a problem. Finally
the profile of the new wing seemed to be a slightly different curvature than the
old wing.
Drilling the holes in the new wing
Now there was no going back at this point so I just had
to get on with it. Having drilled a number of holes in the wing (and expected
more to be required) I thought the wing would fit.
Now, still working on the bench I thought I should fit
the stone guard and lights. However the stone guard was very difficult to bend
around the curvature of the wing which flexed on the bench. I drilled two holes
but then sensibly thought it might be better to fit the wing and then continue
to drill holes because the wing when attached to the car would be stable.
 |
New
wing on |
One hour later I’d only managed to put on the two extra
bolts on the back curve of the wing by drilling two new holes.
One bolt on the front set has pulled out of its fitting (as
usual) but that’s not bad in the grand scheme of things.
I tried to undo the bold for the suspension but it would
not release – it looked like the car weight was on it – so rather than
dismantle the suspension I accepted that I also had to cut out a grove in the
wing to get it fitted.
That took less time than I had imagined so after a bit of
effort the wing was back on.
To rivet on the stone guard back on I attached it with
bolts to take the pressure and the first rivets I put in seemed to take,
although they were a bit shallow. I decided to see how it went, but found that
the fibreglass seemed thicker in places and therefore I needed deeper rivets. (These
I ordered on-line that night.)
In the meantime I decided to re-assemble the rear lights
etc. and consulted my photo and the notes I had made.
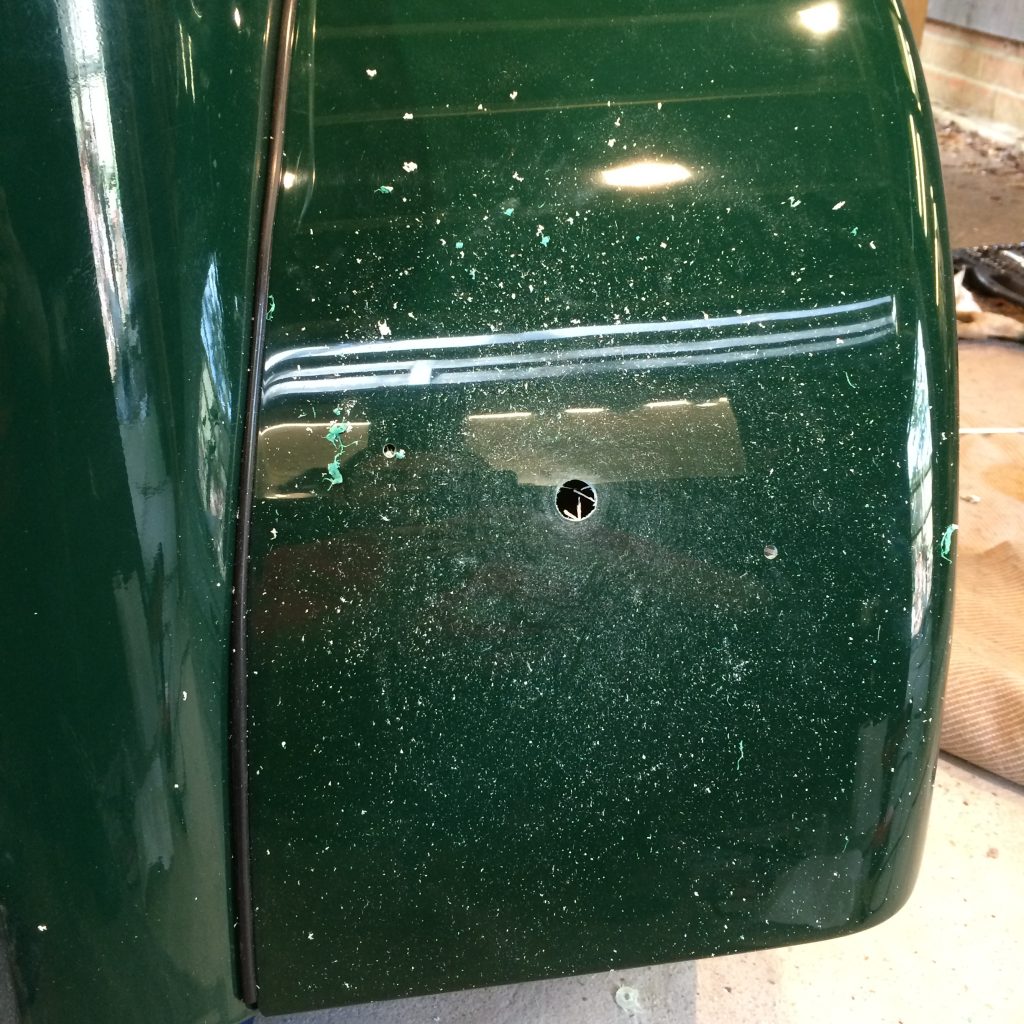
Drilling into the new wing was a bit scary – and it
 |
Drilling
the hole for the lights |
seemed to make a lot of mess. I had remembered to put the wheel back on to
level the car up and measured the other side a few time before drilling.
Having reassembled everything the lights worked but the
indicators seem to be flashing on their own – from the front nearside and rear
offside at the same time when I connect the wires. Also the reversing lights
don’t seem to work and neither did the brake lights.
As it was getting close to 5 o’clock by this time I
decided to pack up for the day and dig out the wiring diagram from the build
manual.
About six hours had passed that day.
Part three: Re-doing the
electrics and finishing the stone guard
Looking
at the instructions from the build manual with the colours for the left side right
side units for the break and indicator I tried to match them up and also cleaned
the connections.
I connected
the rear lights (red to red) and it seemed to work. Exploring the indicator
fault it turned out that the three working indicators flashing incorrectly was
due to the fact that the hazard light switch was pressed in. Not sure why
or how that happened but I only spotted it as I took the cover off completely
to see what was going on.
Now
for the missing indicator. Striping a bit more wire it was obvious that it was
corroded internally so it was not carrying much current – therefore just
jamming in the fitting didn’t work anymore. So I extended both fittings for the
indicators with new wire and soldered on terminals – but the indicators still
failed to work. I checked the resistance and I checked the bulb and the bulb
was blown so I replaced it. I found a new bulb courtesy of the old 1970s Prime
Garages kit (maybe c1980) so I think it will last for a little while I’ll buy
new one.
 |
Electrics
needed re-working |
So
all systems go: indicators, brake lights and rear lights all working as normal –
I even made up a rubber grommet for the hole the wires go through. I could not
remember if I’d ever seen the reversing lights work – so I don’t know if they
ever did function correctly.
I gave up on the reversing lights and as everything else seems
to work – the bulbs are okay but neither were coming on so it lead me to believe
it could be the reversing light switch on the gearbox so I’ll leave that for
another day.
Now
to fully attach the stone guard – the first hole fixing using the 10 mm rivet
seems to work fine tough to get on but it hold nicely.
However
some 10 mm rivets still would not bite, especially as the fiberglass seems to
be a little thicker – however using stainless steel button head screws (which are
virtually indistinguishable so you can’t tell them apart) I decided to put a
few of those in. In retrospect I wish I’d used those everywhere – it would’ve
been more secure – but let’s see what happens when it’s on the road.
So time to finish off – all I needed to do was to glue the carpets back on the
boot and tidy up the tools etc. I finished and had tidied away everything by about
12:00 therefore the morning was 3.5 more hours.
 |
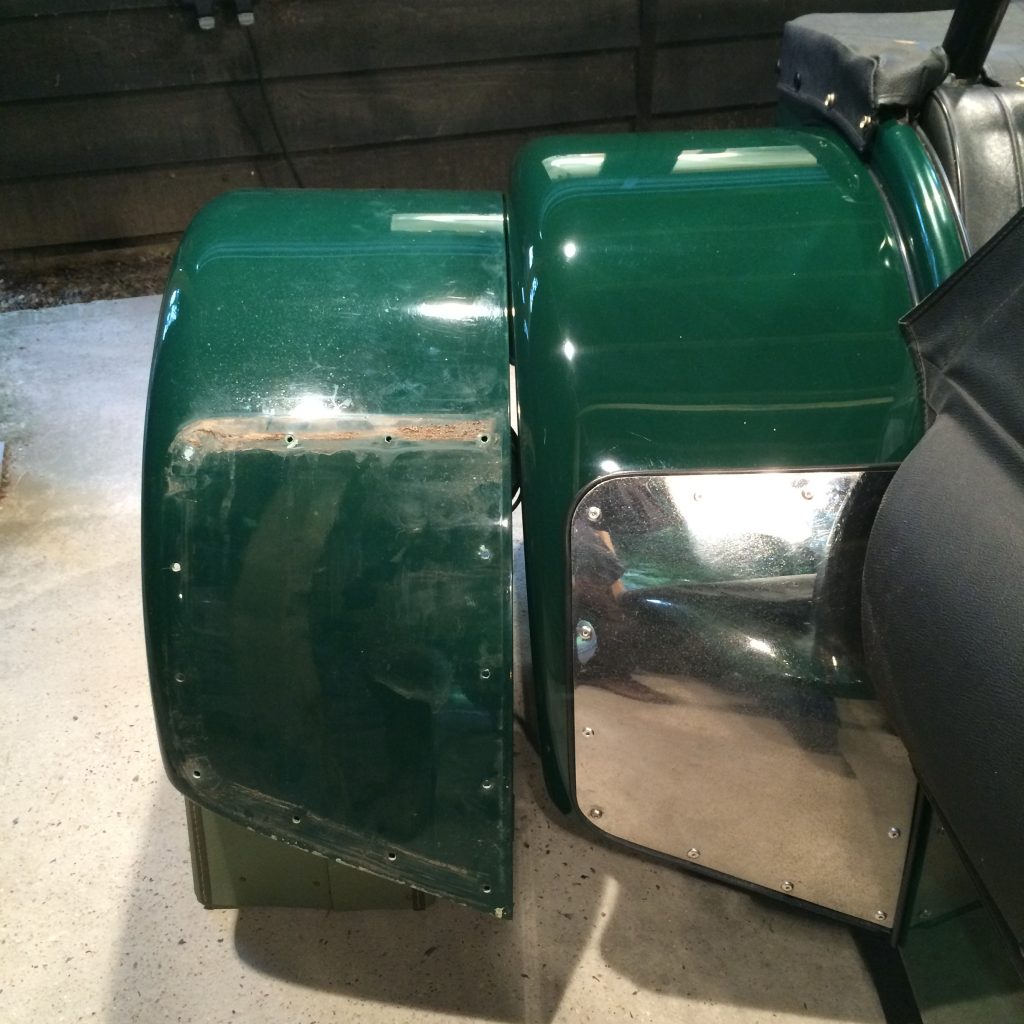
Finished
result with the new wing on |
The Result
Looking
at the two wings again, this time with the new one attached convinced me that I’d
taken the right decision.
Not
convinced enough to do the other rear wing, but it matches and using the old
stone guard makes it blend in.
I’d
spent just shy of 10 hours doing it, which I thought was OK in the circumstances.
I’d be able to do the next one quicker.